Visual.Effects.Artist
Download files here:
RIB Archives Files:
-Rook Part 1 of 2 (base)
-Rook Part 2 of 2 (posts)
-Rook Composition
Texture Sources:
-compwood color
-compwood height
-checkerboard
RIB Render Files:
1/6 - AO per frame
2/6 - AO prepass
3/6 - AO beauty pass
4/6 - Lights beauty pass
5/6 - Surfaces pass
6/6 - Composite render

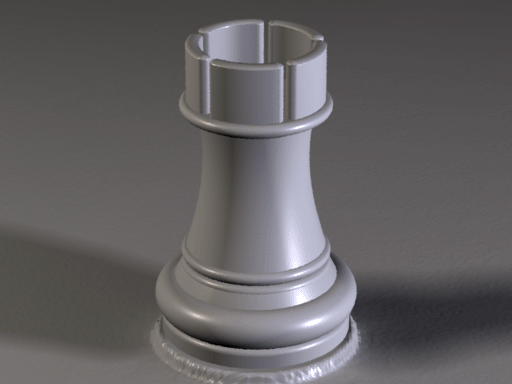
The first goal was to create an object to be saved as a RIB archive. The object could then be used to compose a scene by calling the reference with "ReadArchive" references. I'll describe the process in the same way my RIB is set up for rendering.
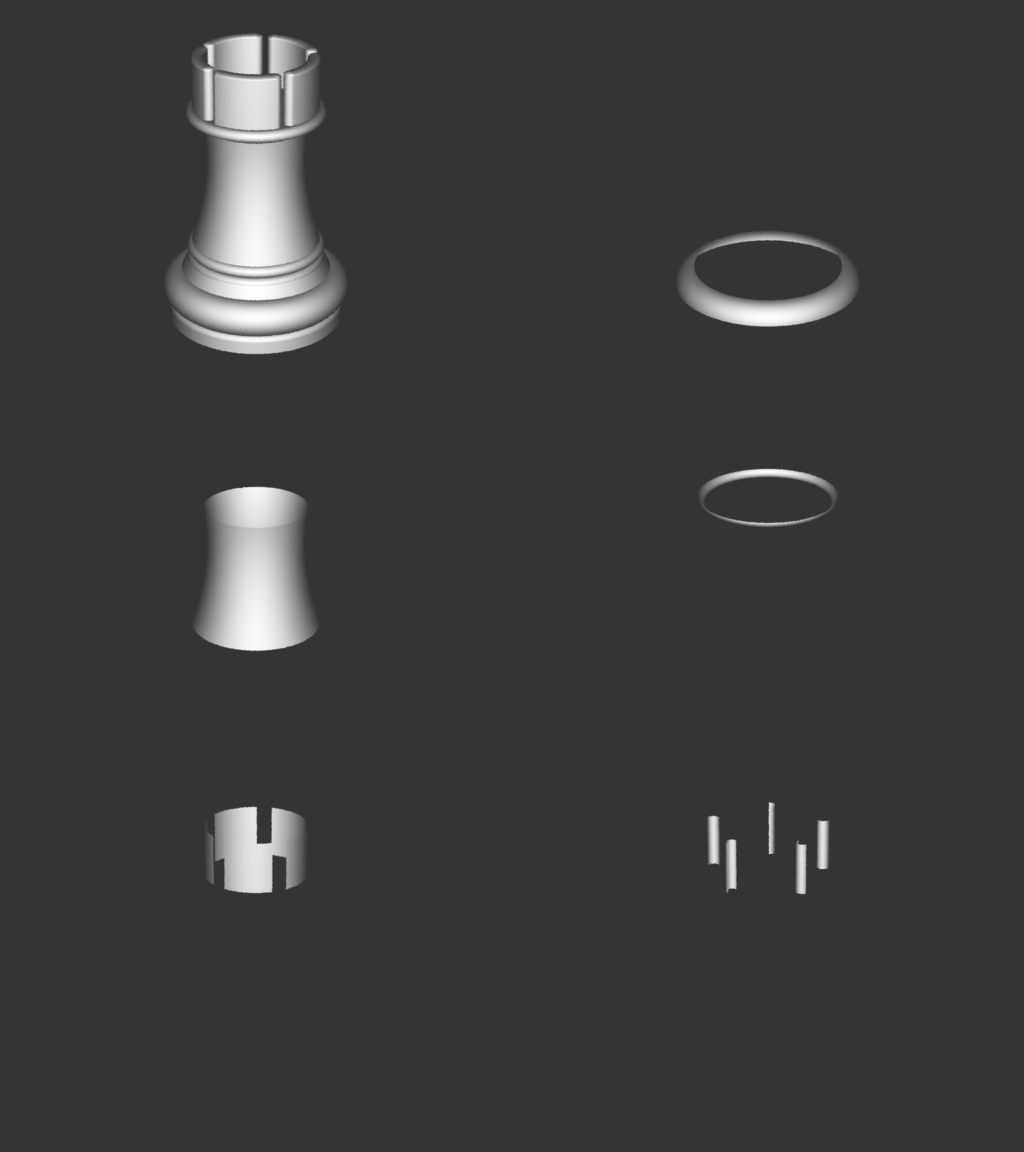
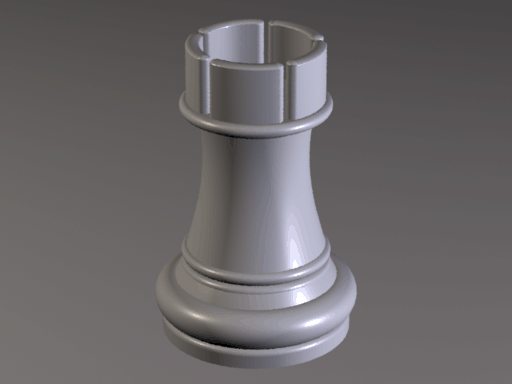
Object Component Building There are a lot of compentents because I wanted to avoid a lot of internal, useless, geometry, and so I used the object parameters to slice and dice a coherant surface. The object was essentially a lot of primitives with transformations.
In this example, one "ring" is created by stacking 2 torus slices, this had to be done because of the direction that "Torus" primitives are created: TransformBegin Translate 0 1.3 0 Rotate 90 1 0 0 Torus 1.0 0.1 270 360 360 Torus 1.0 0.1 0 90 360 TransformEnd
The 5 tower posts are identical, so I used a separate separate "ReadArchive" within the chess piece archive and only had to rotate (instead of retype) the posts. The result was two files: 1.65KB for the base and 1.28KB for one post (2.93KB total) versus one 5.43KB file that typed out each post individually. Rendering time appears identical. The base and tower consist of: Disk (x2), Cylinder (x1), Torus (x9), Paraboloid (x1), Hyperboloid (x1) The five tower posts contain: Cylinder (x4), Torus (x1), Sphere (x2)
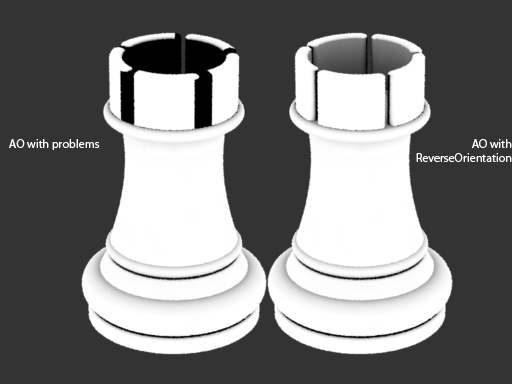
Everything looked good at this point, until I rendered an Occlusion Pass, and my curiosity/fear about normals came true. Luckally, "ReverseOrientation" is a command that I could implement to turn on or of normal flipping. As seen below:
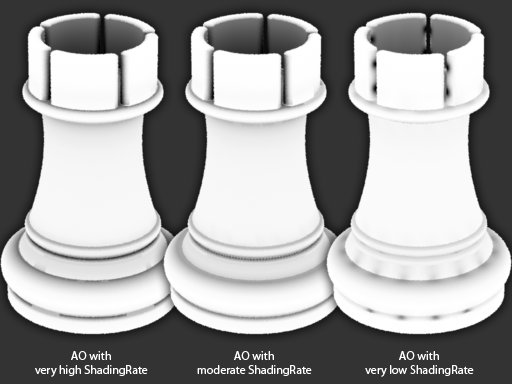
Surfaces - Ambient Occlusion Above is a ... Surface "rtOcclude" "samples" [256] ...shader which renders AO per frame. Because the image is static, Baking a Point Cloud with the Occlusion info allows the same info to be recycled. Below are some tests with different resolutions, because the .ptc quality/filesize depend on the chosen resolution and "ShadingRate" (or micropolygonization).
To render the Point Cloud (occlusion.ptc), the following shader and attributes were set up, with a bird's eye camerea. The attributes ensure a consistant render quality throughout the 3D space by preventing the renderer from cliping hidden surfaces or other mayhem. Attribute "visibility" "trace" [1] #raytracing is needed for AO Attribute "cull" "hidden" 0 #no internal culling, we want it all!!! Attribute "cull" "backfacing " 0 #no backface culling, we want it all!!! Attribute "dice" "rasterorient" 0 #slice the scene evenly, not based on Surface "bakeAreas" "bakename" ["/stuhome/vsfx319/shaders/wgs_matrixAO.ptc"] After the bake, the attributes were turned off, and the .ptc could be loaded as a surface: Surface "ptOcclusion" "filename" ["/stuhome/vsfx319/shaders/wgs_matrixAO.ptc"]
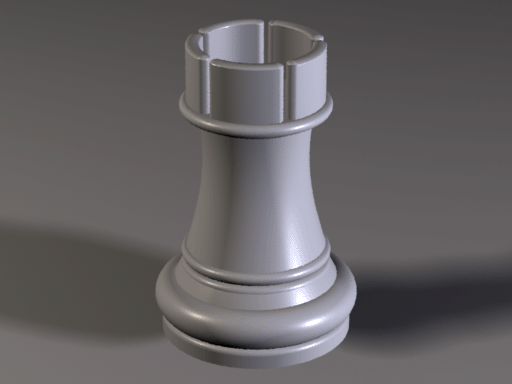
Lighting First, a light can be created in Cutter. LightSource "shadowspot" 1 "intensity" 25.0 "lightcolor" [1.0 0.95 0.9] "from" [-4.0 3.0 1.0] "to" [0.0 0.0 0.0] "coneangle" 0.55 "conedeltaangle" 0.15 #edge sharpness "beamdistribution" 2.0 "shadowname" ["wgs_matrixSpot1.tx"] #render and use this shadow map (above) "samples" 256.0 "width" 32.0 Before rendering, Cutter can be used to calculate the shadow by saving separate RIB files containing shadow info, essentially creating the light as a camera and rendering out a Depth Map shadow. Before Shadows (using 2 lights):
After Shadows (with 2 baked shadow maps):
Once again, if the shadows don't change, they can be recycled for every subsequent frame.
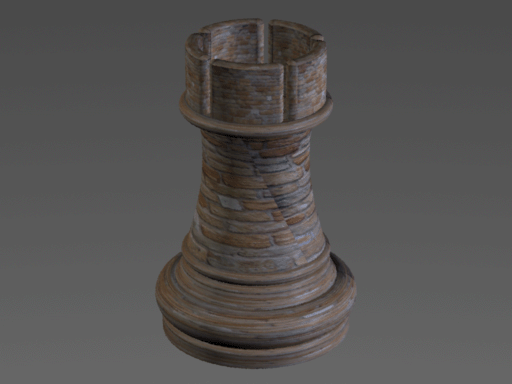
Surface Shading/Textures Next, for surfaces the combo shader was used: Surface "combo" "texname" ["wgs_brick.tex"] "traname" ["wgsfiletest.tex"] "Ks" 0.1 "Kd" 0.5 The texture maps can be converted to .tex by invoking: txmake ../textures/FromTexture.tif ../textures/toTexture.tex
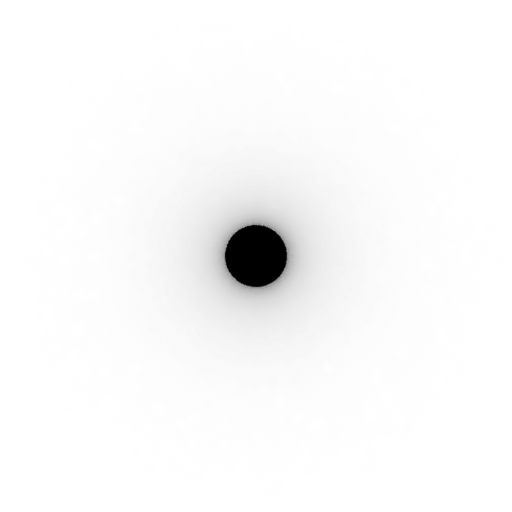
Displacement I used settings similar to the ones for baking out Ambient Occlusion in order to render a top down occlusion image of the ground plane that would be used for displacement. This is an image now instead of a Point Cloud (which is 3D information). More details are in the provided RIB files.
The "bound" Attribute tells the renderer to search outside of the normal bounding box of the geometry when drawing displacements. Attribute "bound" "displacement" [0.10] Displacement "emboss" "texname" ["wgs_matrixAOtest.tex"] "Km" 0.1 For simplicity, this is just "plastic" with displacement:
Composition
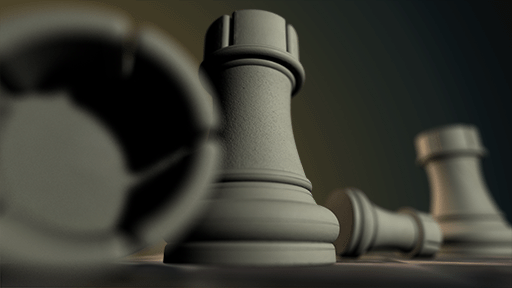
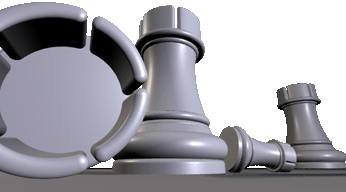
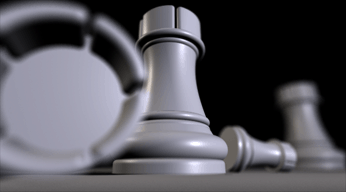
Now, to put things in a composition: And with Depth of Feild.
And finally with a proper surface shader and lights click for full image You can follow the process that I went through to get to the final render. These files are also available on the right panel.
1/6 - AO per frame
Additional Notes One note, if you plan to render from these files, you will need to redifne path locations, some are relative and some are not. Also, filepaths are currently set for Linux, windows is sometimes different so I left commented alternate paths. Lastly, a problem I discovered recently is that Windows does not like to render the "Sphere" components from the Rook Posts. Linux does not have this problem but in Windows, prman reads the shape arguments wrong. I checked for hidden character issues but could not determine the cause. Luckily I wasable to work in Linux :-)
You can also check for more at: |
Updated: June 16, 2011
