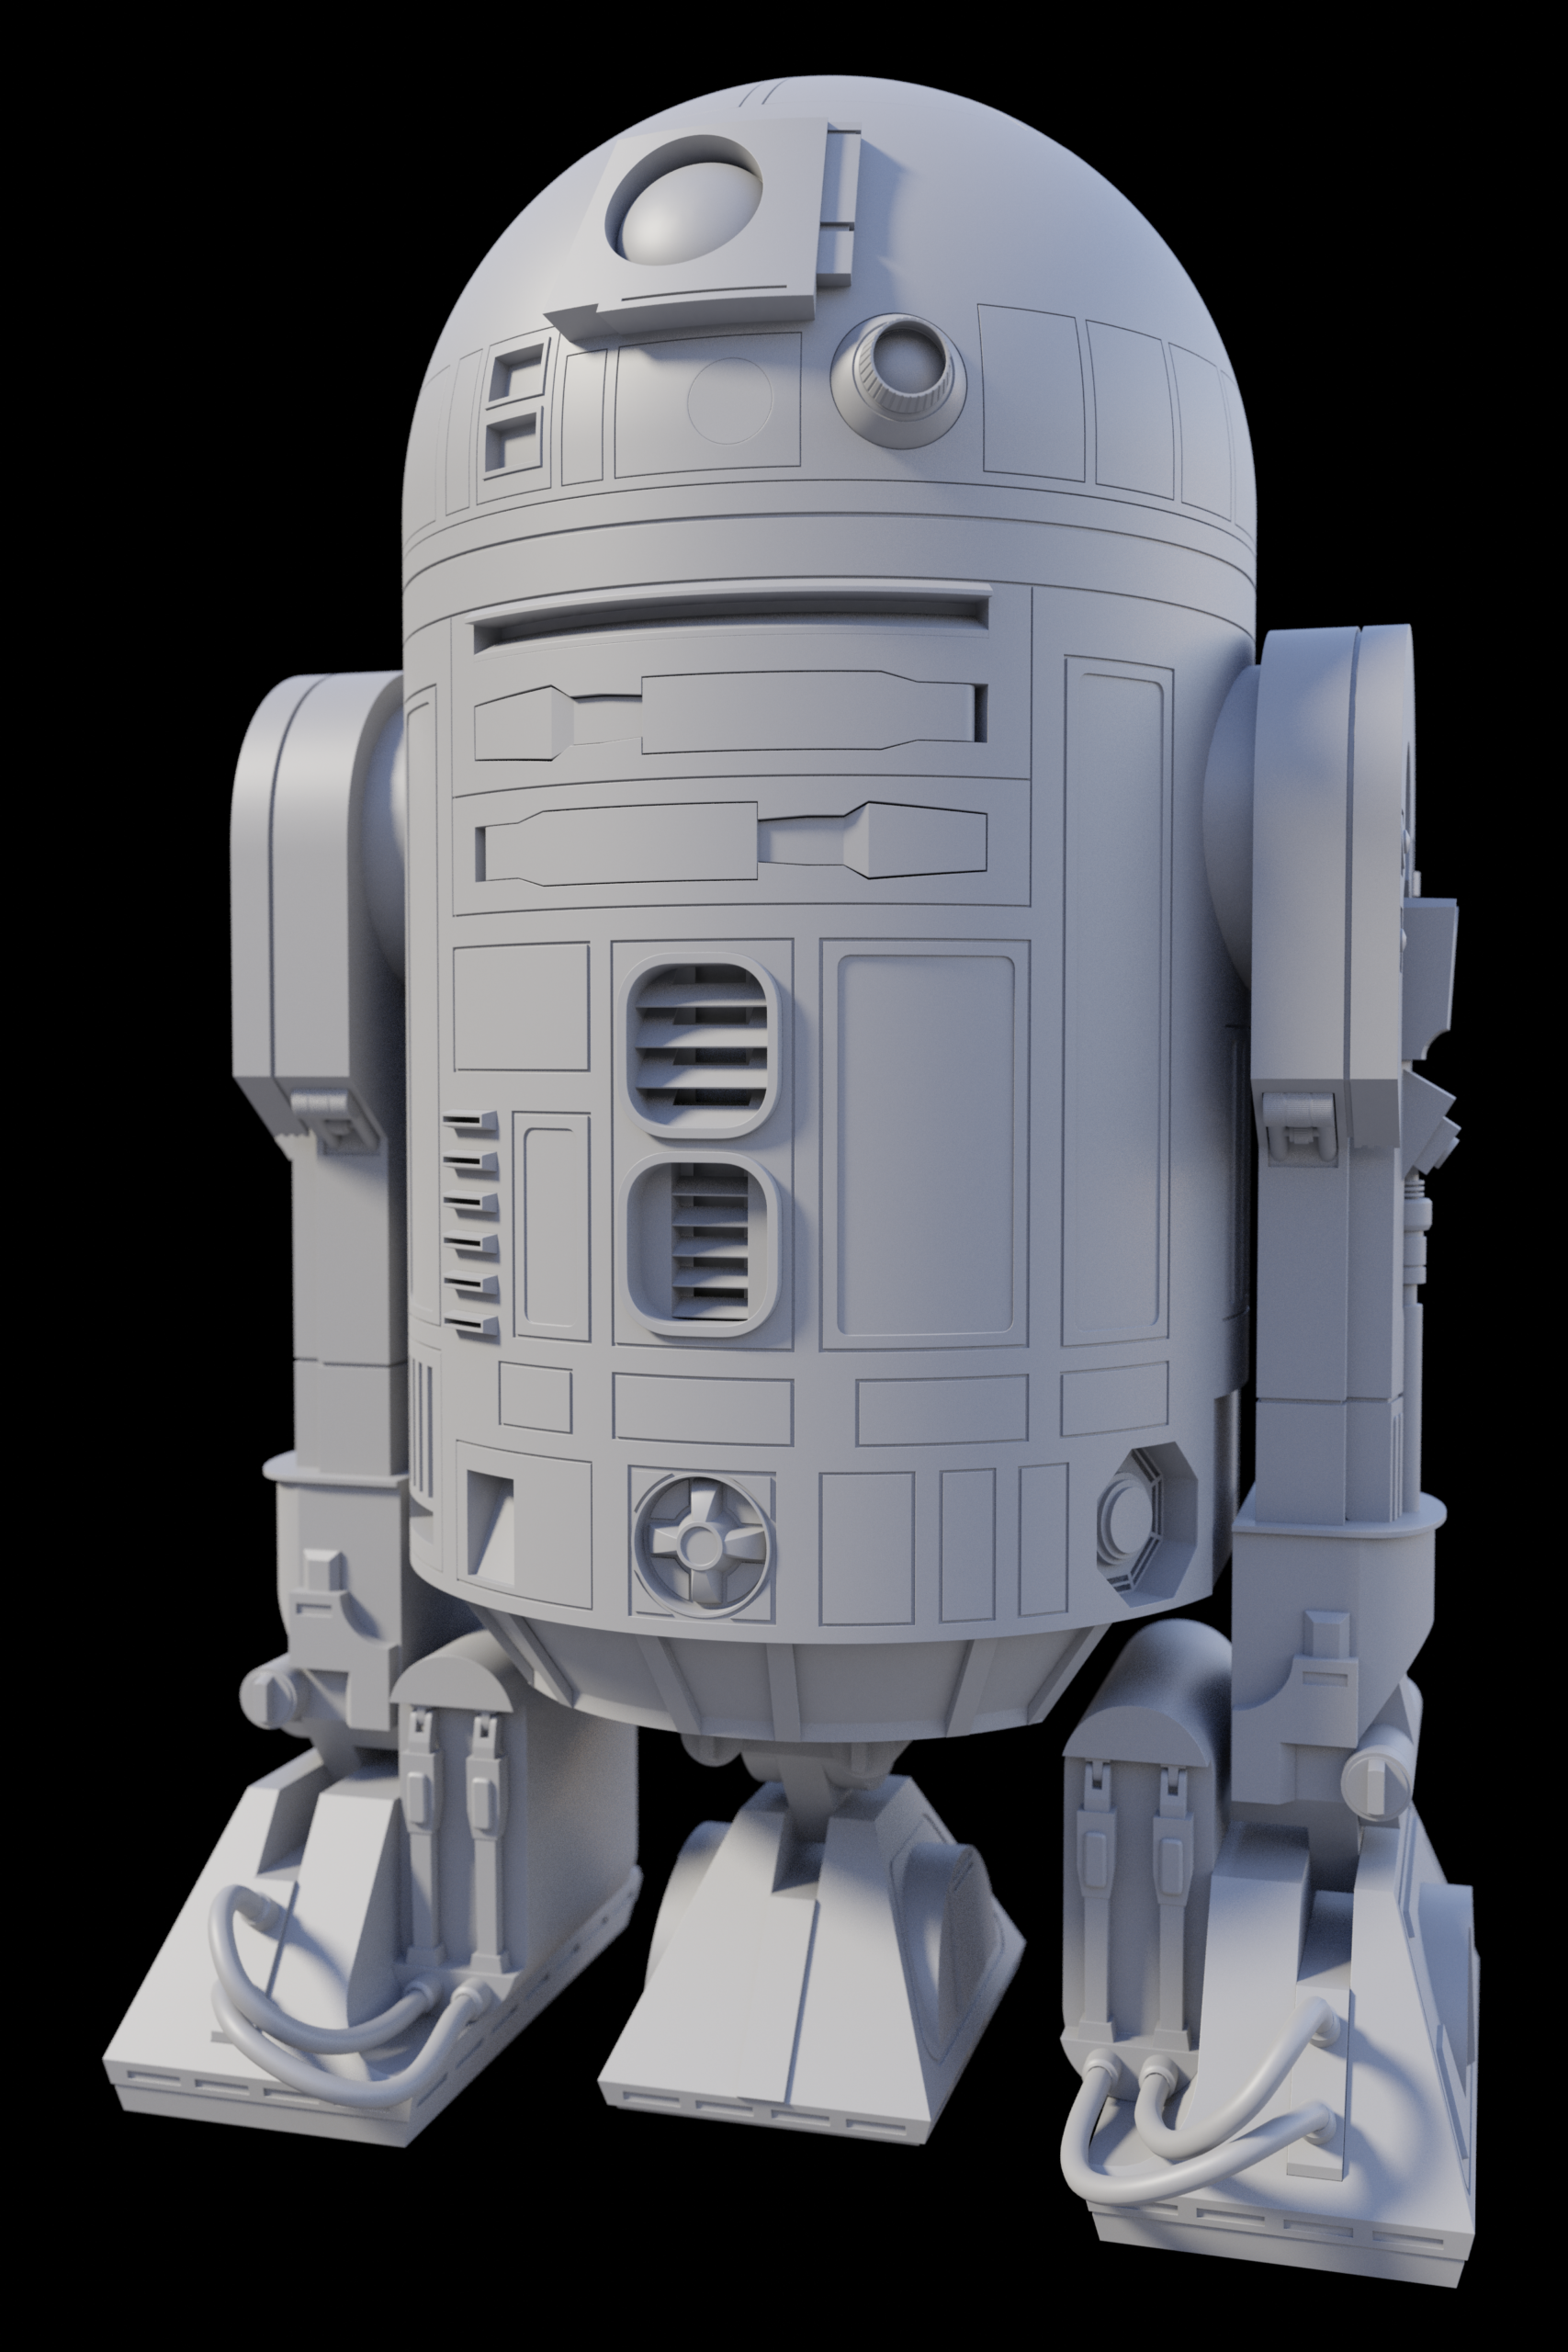
Recently I decided to pick up Blender. I’d like to be able to work on projects at home, and I’ve always been a fan of Open Source projects. I decided to start with a modelling project.
Blender has some good modelling tools. I really love being able to use edge bevel weights with the bevel modifier, much like QuadChamfer in 3dsMax.
R2D2
Artoo has a lot of good reference and blueprints available as well as a good variety of shapes, so I figured it would be a fun project to start wtih. Modelling is complete, but I’m still finalizing UVs before I get started with shaders.
This post will be a long one, so I wont get it all at once…updates to come.
First off— so I wanted to create a test environment with lightmaps. I downloaded the Natural History Museum model from 3dRender.com to start, and the laid out the UVs in a reasonable manner. At first I thought I could get away with one or two maps, but there is just way too much surface area for the quality I wanted to achieve, and so came 23 UV maps.
Next I got a reasonable balance of lighting that I was looking for. Based on Mental Ray’s physical sun & sky system, with portal lights for all the main windows, I did a sort of quick set up.
Now in traditional rendering, separate passes for direct and indirect are no problem. I wanted that, but also to have separate passes for each main light source. Ideally, the renderer should spit this all out without much trouble, but this is Maya/Mental Ray, so it wasn’t going to be easy. Additionally, I wanted to bake this all to lightmaps (for real-time rendering later). Rendering Direct/Indirect is simple enough, but the remaining problem here was twofold:
Rendering separate passes for each main lightsource (Sun, Sky, artificial)
lightmaps dont allow membership or layer overrides.
Although lightmap sets are a special form of object sets, they’re extremely limited. I wanted to avoid creating 7 of separate scenes every time I wanted to render ( since I had 3 light sources, direct and indirect for each, and alpha). For this I created a MEL script node… (explanation to come)
So I got something like this (top center and top-right are composite maps):
Lighting / Render Passes
After balancing the passes in Nuke, here’s a few screenshots of the results back in the maya viewport:
I wanted to try a quick test with an alternate lighting setup, and I was inspired after seeing the new James Bond: Skyfall movie. Here are the preview-quality results.
This test was a great opportunity for some scripting, and there’s more I’d like to play around with as far as pipeline. Also would be a good chance to explore the API to render out passes and light groups all at once, rather than 7 times. Perhaps Illuminate Labs/Autodesk Turtle would be better suited for something like this.